Download and Install Abaqus
This section will describe how to install Abaqus on your machine, in preparation for the installation process of Coreform IGA for Abaqus.
1 Installing Abaqus 2026 Hot Fix 5
Below are instructions for installing Abaqus 2026 Hot Fix 5 (HF5) on Windows. For additional information on installing Abaqus, please refer to the Dassault Systèmes documentation. The assembly-media extraction and update order below are also described in GoEngineer’s tutorials for installing Abaqus and applying an Abaqus hot fix.
There are two parts to the Abaqus 2026 Hot Fix 5 installation:
- The main Abaqus 2026 (“Golden”) installation.
- The Abaqus 2026 Hot Fix 5 update.
1.1 Download the Abaqus 2026 “Golden” media
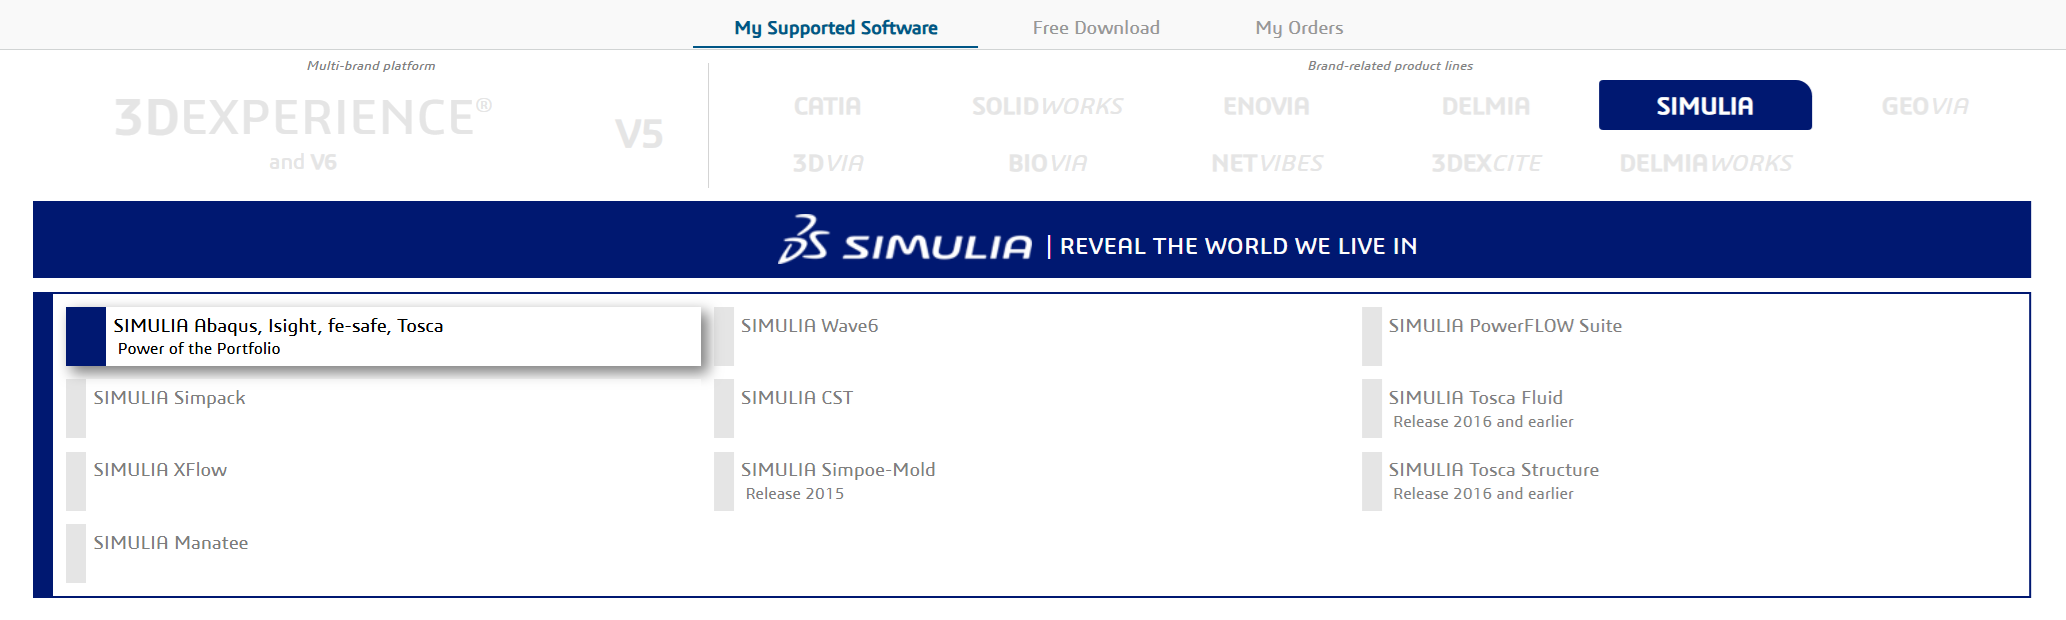
Sign in to the Dassault Systèmes download site, open My Supported Software, select the SIMULIA brand, and then select the SIMULIA Abaqus, Isight, fe-safe, Tosca product line.
Set Release to Abaqus 2026 and Level to Abaqus 2026 Golden. Download all five parts of SIMULIA Abaqus Extended Products and the SIMULIA Established Products Program Directory item shown by the portal.
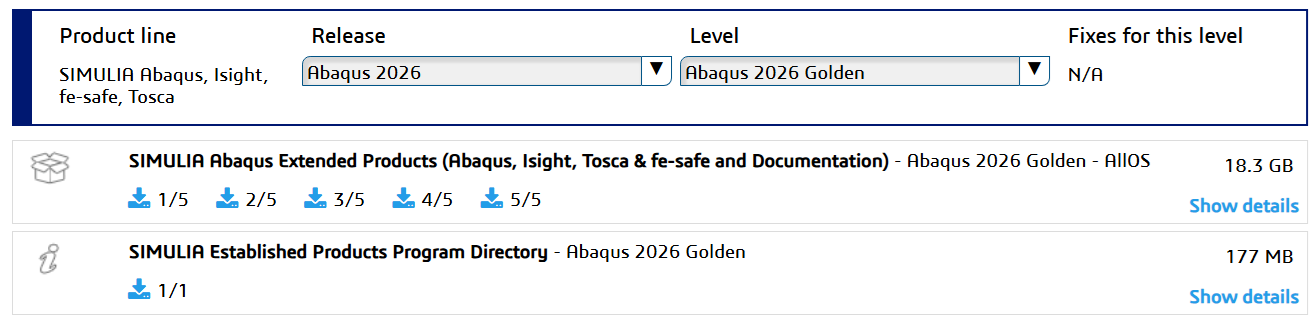
Each of the five Extended Products TAR files is several gigabytes, and the extracted media requires additional space. Before continuing, make sure the download drive has enough free space for both the archives and their extracted contents.
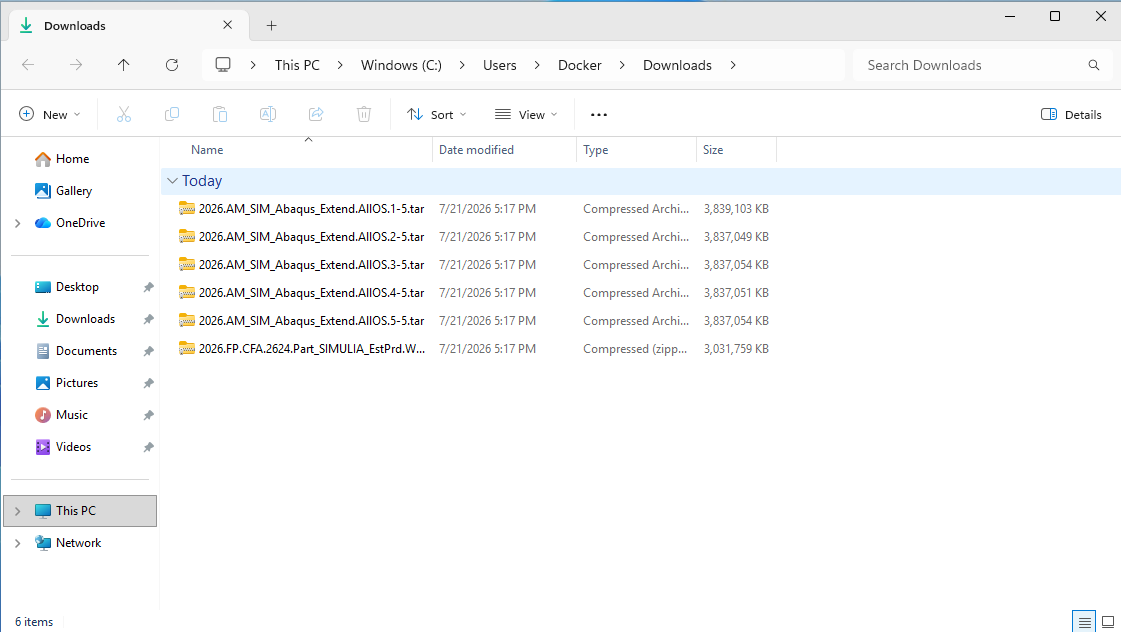
Use the following procedure to assemble the multipart media on Windows:
Put all five Golden
.tarfiles in the same empty working folder. Do not place each archive in a separate folder.Install 7-Zip if an archive utility capable of extracting TAR files is not already available. One option is to run the following command from a Windows terminal:
winget install --id 7zip.7zip -eIn File Explorer, select all five
.tarfiles at the same time. Right-click the selection and choose 7-Zip > Extract Here. On Windows 11, 7-Zip may be under Show more options.Extraction should merge the five archives into one directory tree rooted at
AM_SIM_Abaqus_Extend.AllOS. Keep that tree intact. The installer resolves the remaining media relative to this directory.
If the installer later reports missing media, first confirm that all five TAR files were extracted together and that the resulting numbered directories were not renamed, flattened, or moved independently.
1.2 Install the Abaqus 2026 Established Products
Open the extracted AM_SIM_Abaqus_Extend.AllOS\1 directory. Right-click setup.exe and select Run as administrator. Approve the Windows User Account Control prompt to start the installation program.
On the welcome page, select Next.
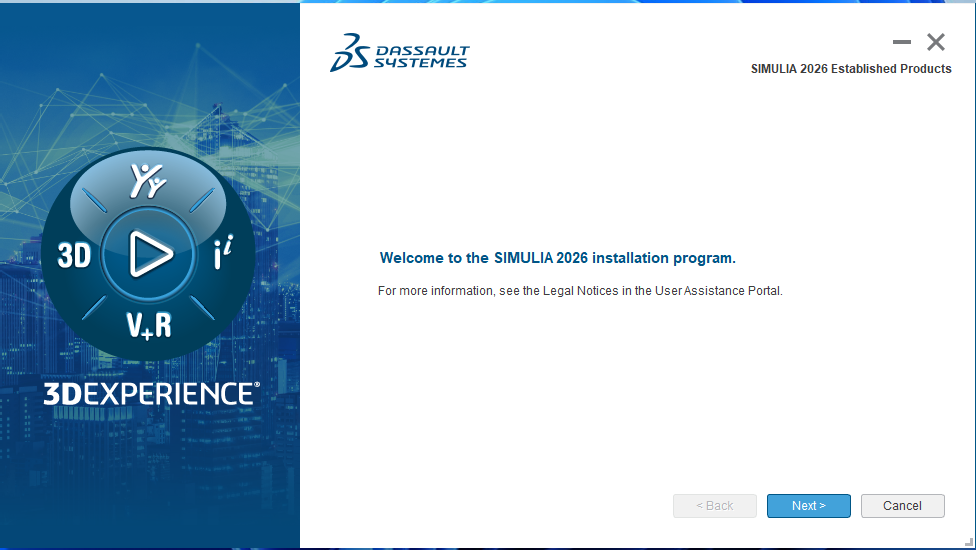
Start the SIMULIA 2026 installation program. Select both SIMULIA Established Products and SIMULIA Established Products CAA API, and then select Next. The main products are installed first; the CAA API installer runs afterward.
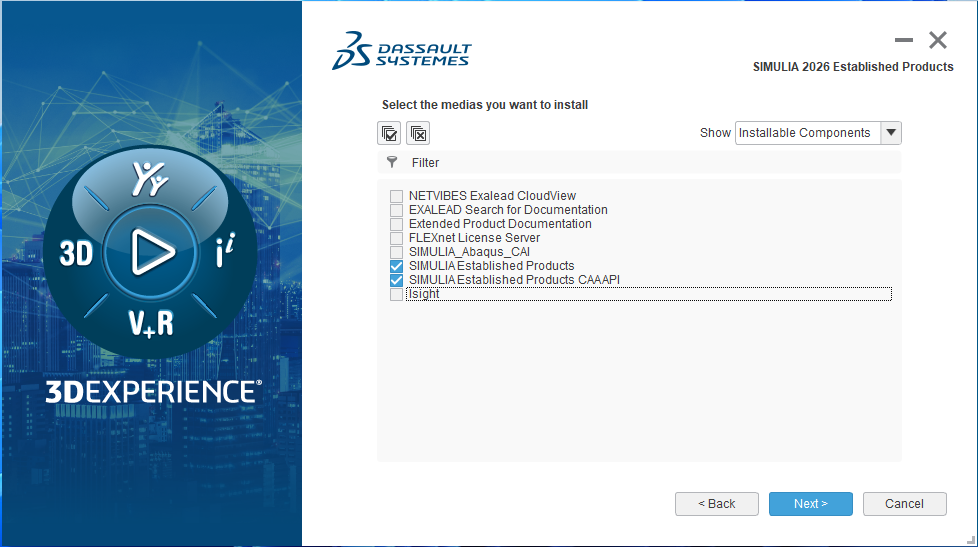
Select the Established Products and CAA API media. Choose the Abaqus installation directory. The screenshots use the default
C:\Program Files\SIMULIA\EstProducts\2026; if you choose another location, use that same installation when applying Hot Fix 5 later.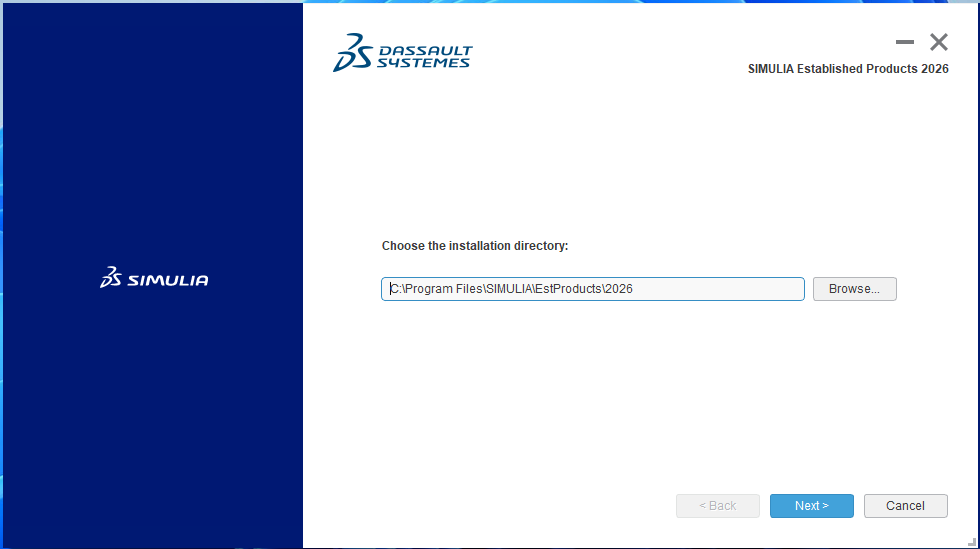
Choose the Abaqus 2026 installation directory. Select at least Abaqus/Standard Solver, Abaqus ODB API Services, and Abaqus CAE. Install any additional components required by your local Abaqus workflows, and then select Next.
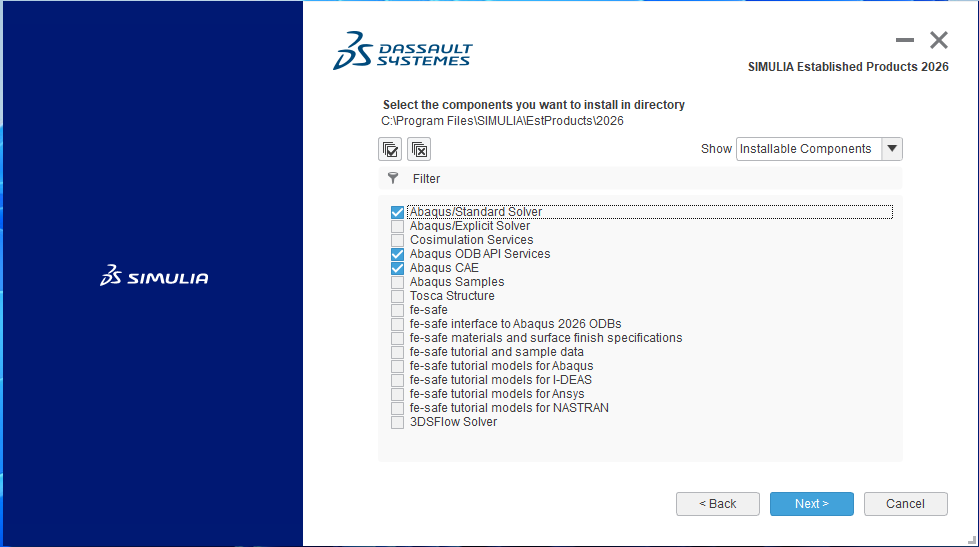
Select the required Abaqus components. Configure the Abaqus license server for your organization. The illustrated installation selects Skip licensing configuration because licensing is configured separately. Select this option only when your machine or site already supplies the appropriate DSLS or SIMULIA FLEXnet configuration.
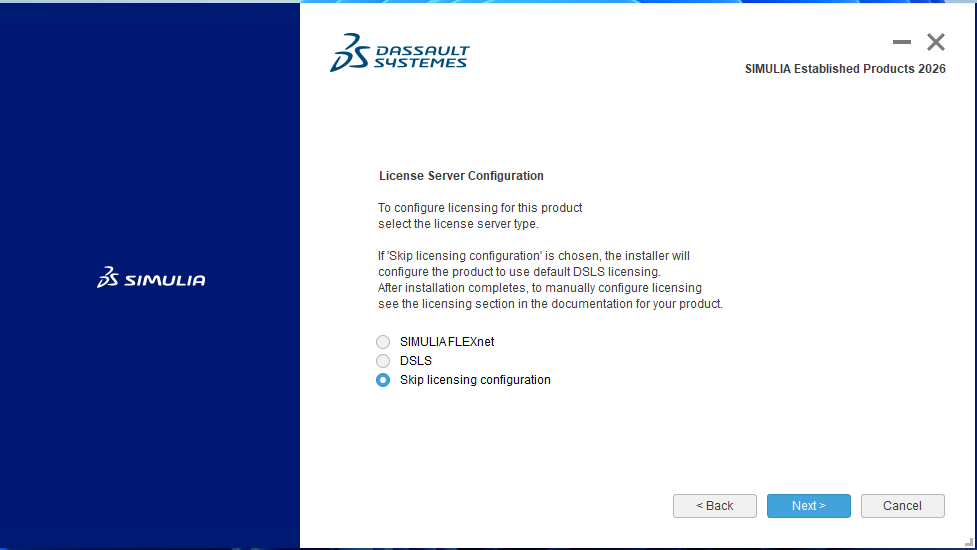
Choose the appropriate Abaqus license-server configuration. Choose the commands directory and the Abaqus/CAE external-plugins directory. The commands directory must be writable during installation. The external- plugins directory must be separate from the Abaqus installation directory. The defaults shown below are suitable for a standard Windows installation.
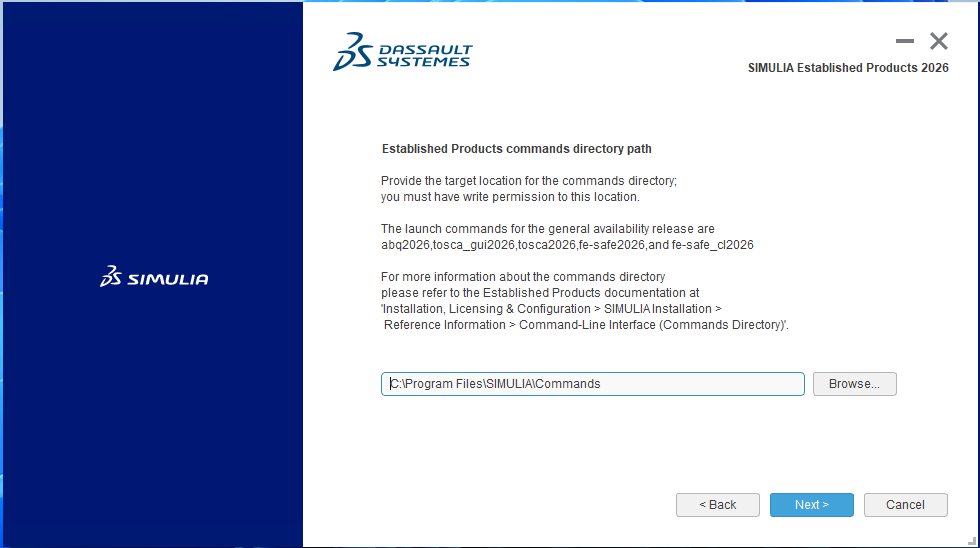
Choose the SIMULIA commands directory. 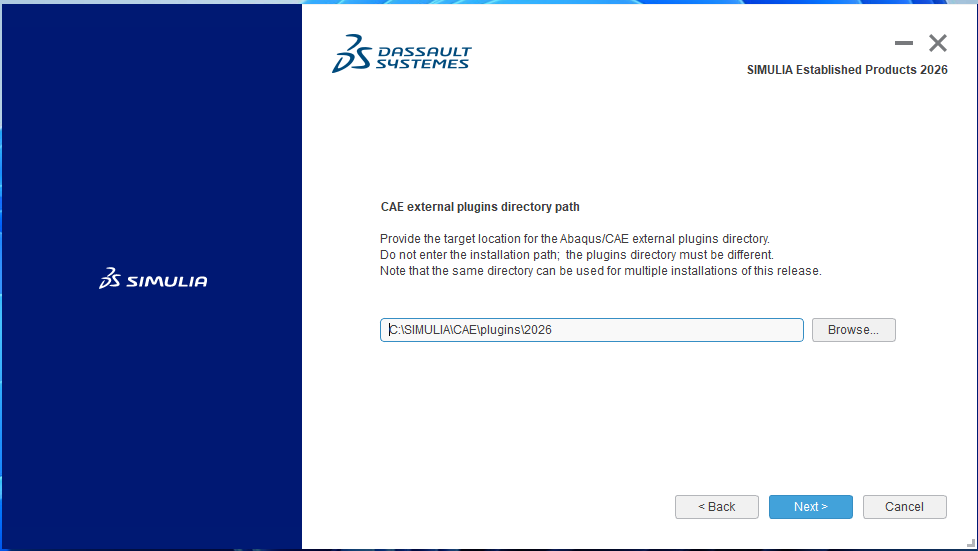
Choose the Abaqus/CAE external-plugins directory. Review the selected components and paths. Select Install when the summary matches your intended configuration.
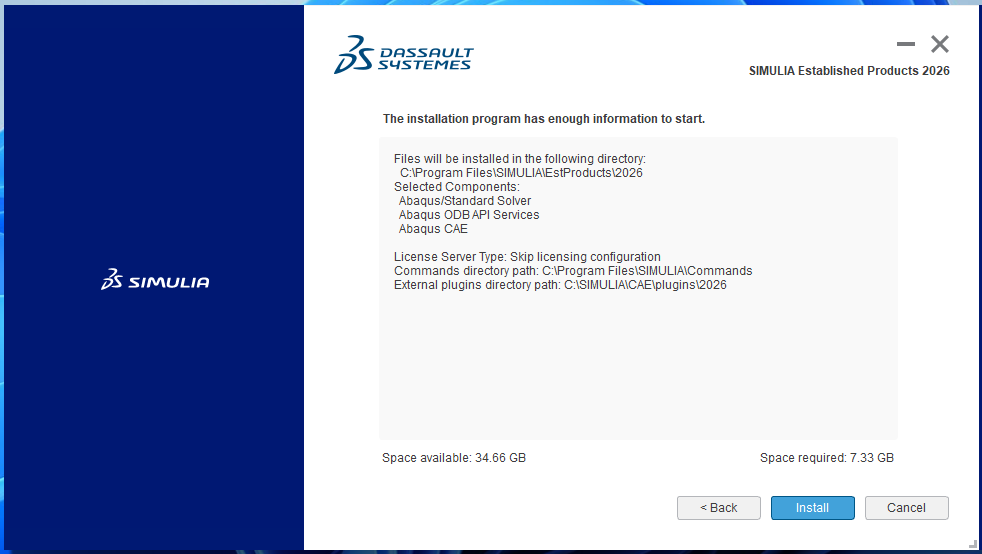
Review the Established Products installation summary. When the CAE installation verification completes, review the reported log location and Abaqus command, then select Continue. Confirm that the final page lists Abaqus CAE, ODB API Services, and Abaqus/Standard Solver before selecting Close.
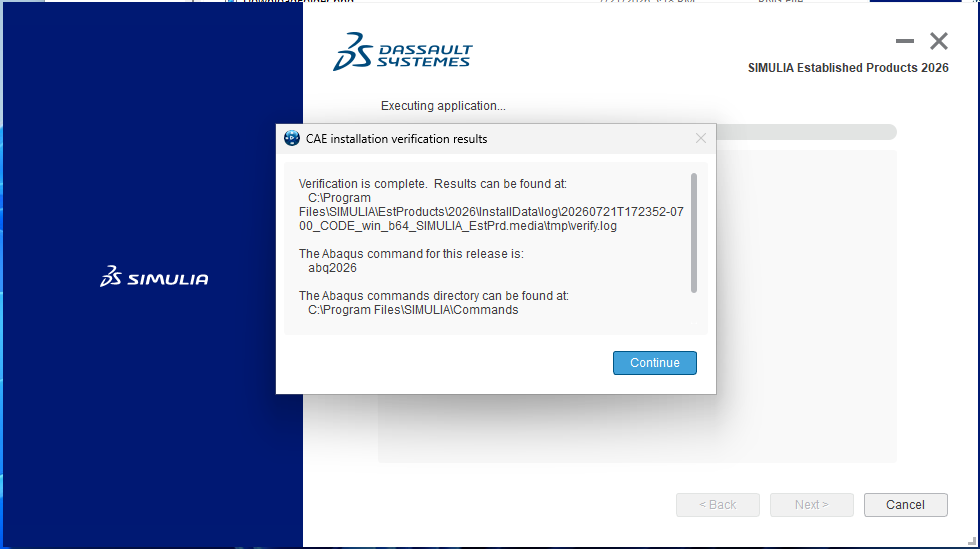
Review the CAE installation verification results. 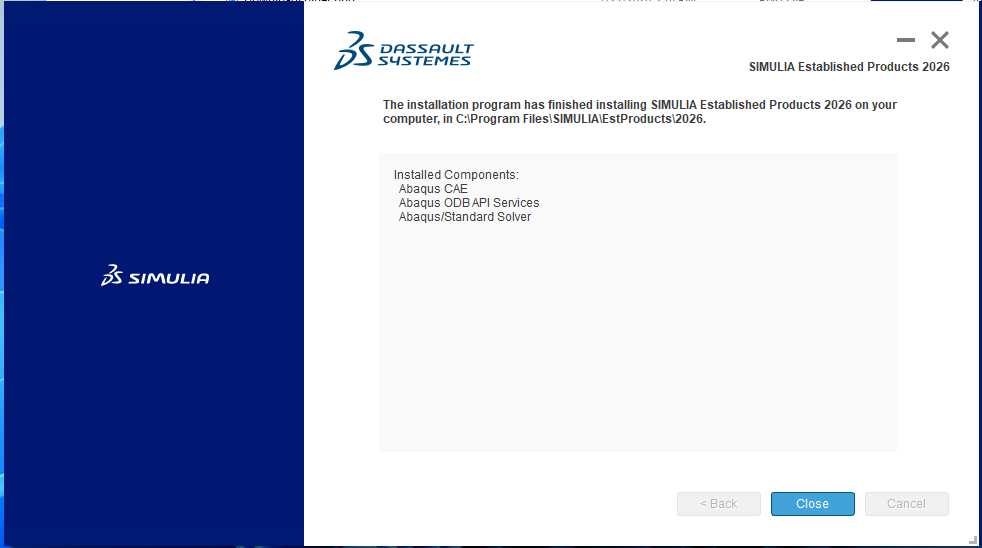
Confirm the installed Established Products components.
1.3 Install the Abaqus 2026 CAA API
After the Established Products installation finishes, complete the CAA API installer launched from the selected media:
Select the same Abaqus 2026 installation directory used above.
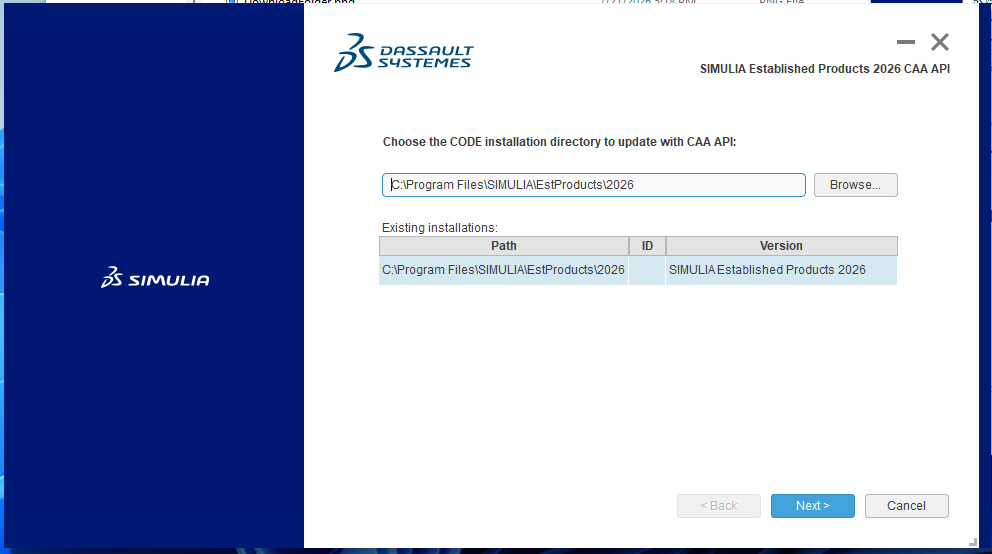
Select the Abaqus installation to update with the CAA API. Select the CAA API components for Abaqus/Standard Solver, Abaqus ODB API Services, and Abaqus CAE.
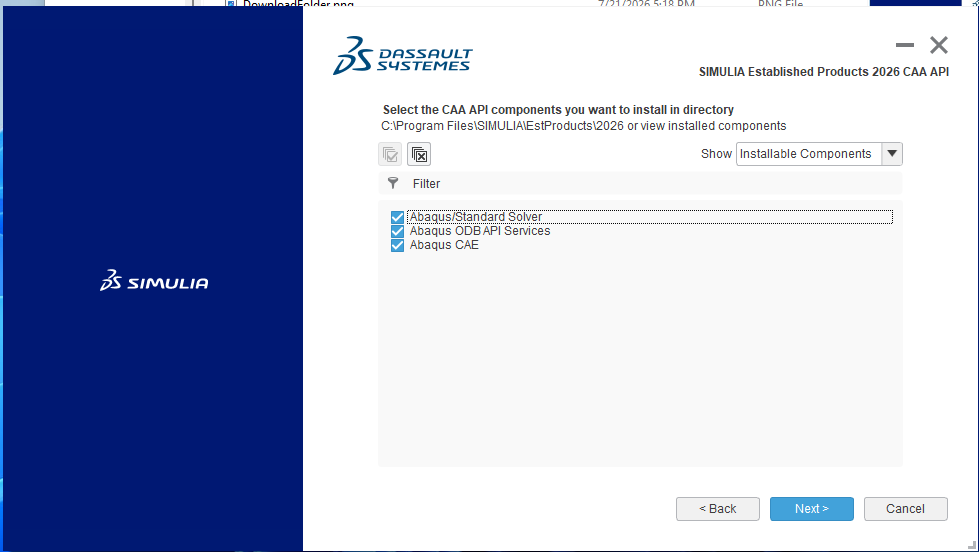
Select the CAA API components. Review the selected directory and components, and then select Install.
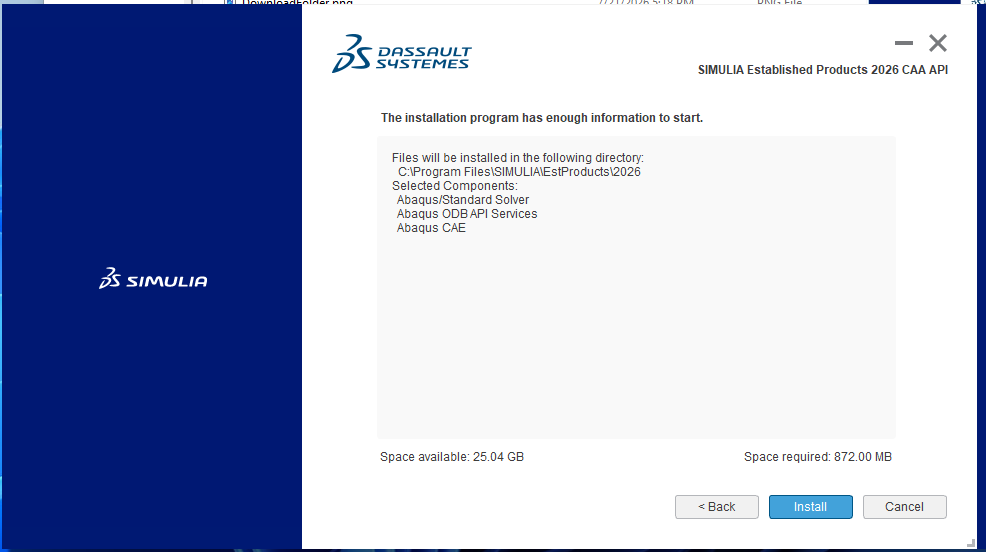
Review and start the CAA API installation. Confirm that the expected components appear on the completion page, and then select Close.
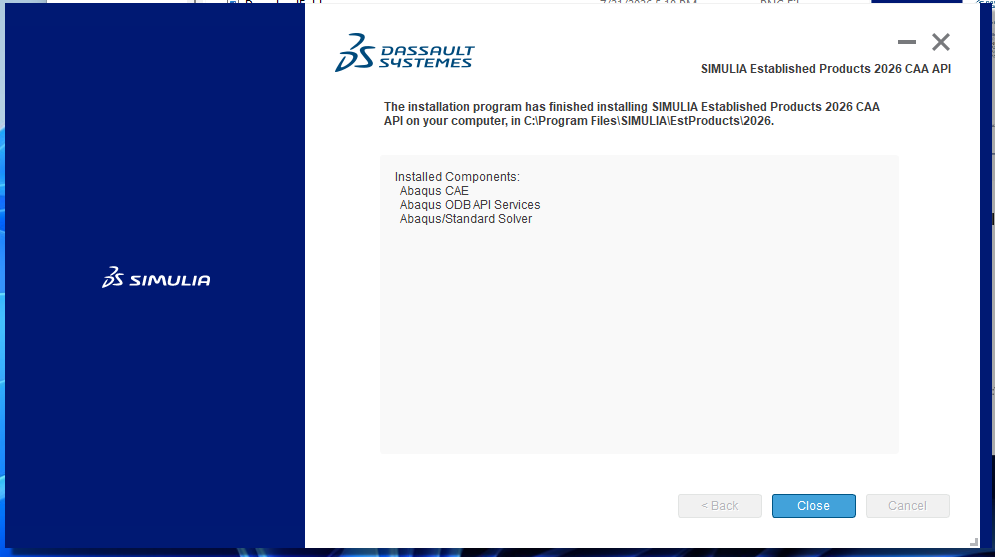
Confirm the installed CAA API components.
2 Download the Abaqus 2026 Hot Fix 5 update
Return to the Dassault Systèmes download site. For the SIMULIA Abaqus product line, set Release to Abaqus 2026 and Level to SIMULIA Abaqus 2026 FP.CFA.2624. Download Part_SIMULIA_EstPrd — WIN64. This archive contains both the Established Products update and its matching CAA API update.
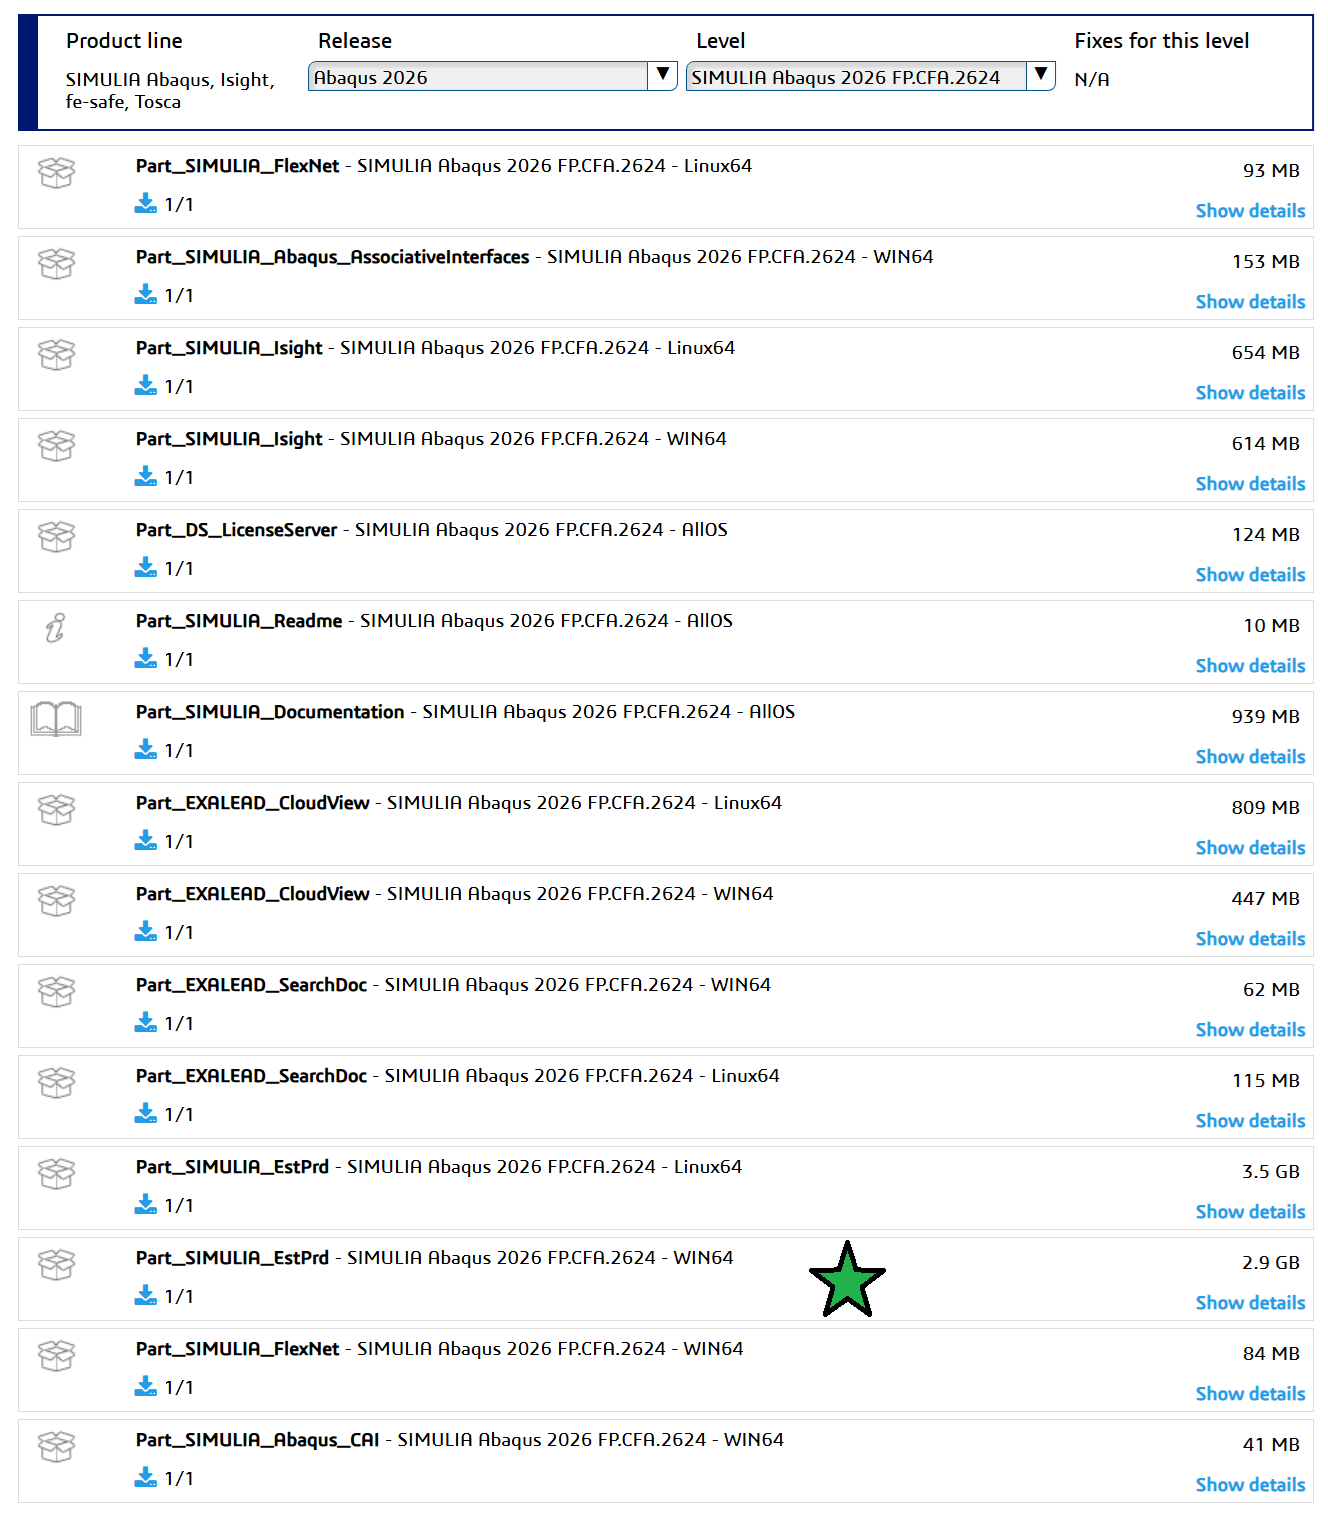
The download portal lists Hot Fix 5 as SIMULIA Abaqus 2026 FP.CFA.2624, while the installers identify it as SIMULIA Established Products 2026 HotFix 5. These names refer to the same update shown in this procedure. After installation, the verification dialog reports the release-specific command as abq2026hf5. The update is cumulative; the earlier Abaqus 2026 fixes do not need to be installed first.
Close Abaqus/CAE and any running Abaqus jobs before applying the update. Extract the downloaded Part_SIMULIA_EstPrd archive. Under its 1\Software directory, the two installers used here are organized as follows:
1\Software\
├── SIMULIA_EstPrd.HF5.Windows64\1\setup.exe
└── CAASIMULIA_EstPrd.HF5.Windows64\1\setup.exe
Run these installers in that order. First, open SIMULIA_EstPrd.HF5.Windows64\1, right-click setup.exe, and select Run as administrator.
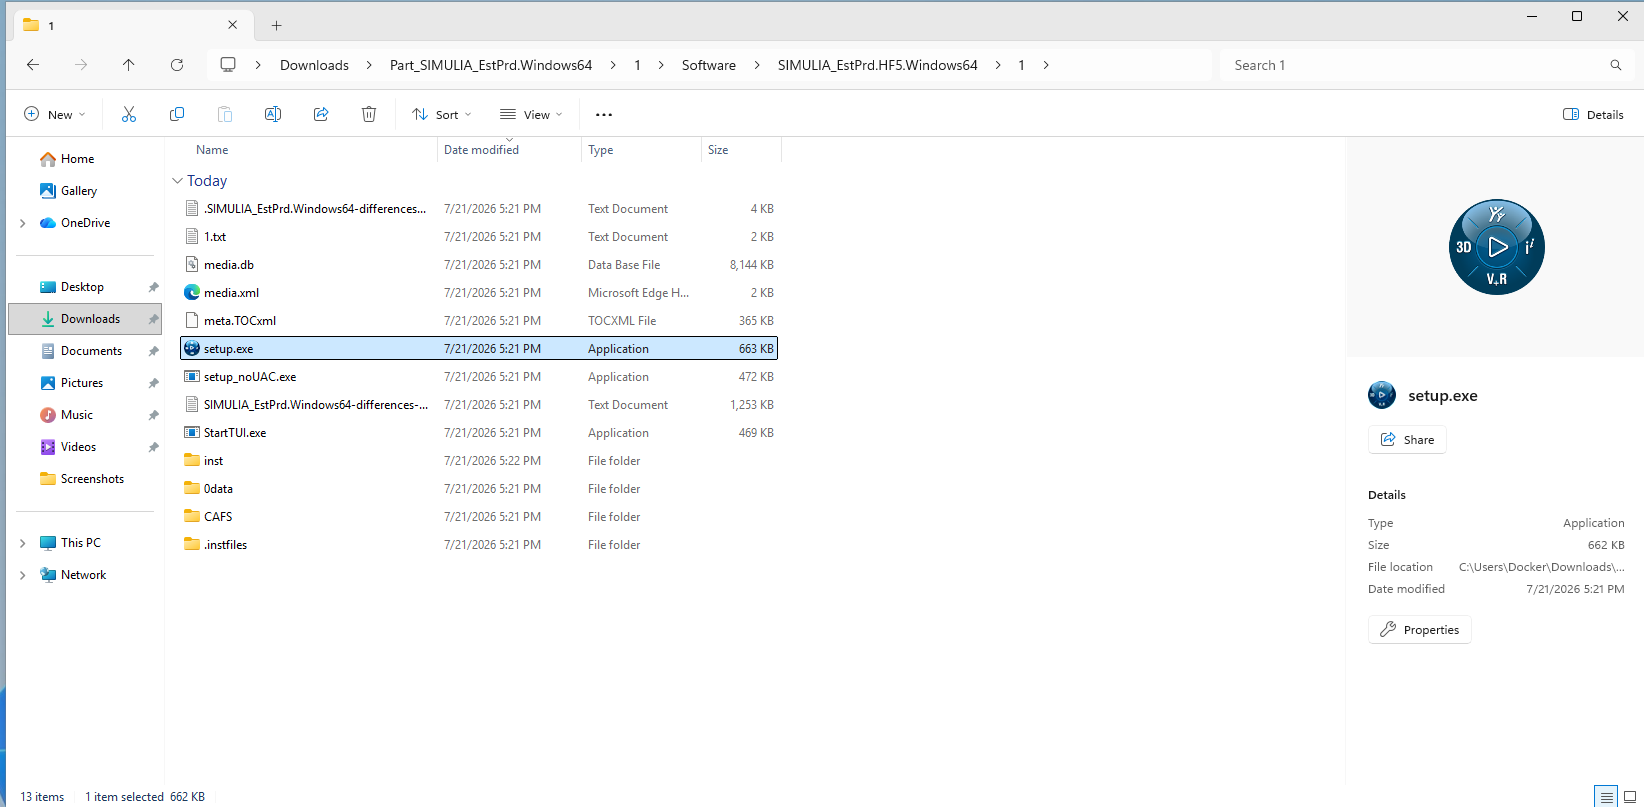
2.1 Update the Abaqus Established Products to Hot Fix 5
On the SIMULIA Established Products 2026 HotFix 5 welcome page, select Next.
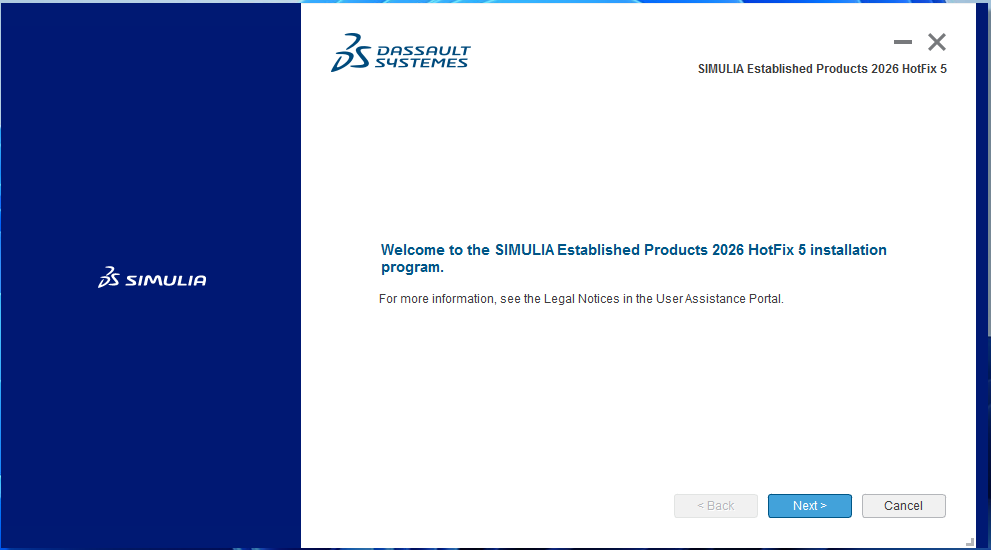
Start the Established Products update. Select the existing Abaqus 2026 installation that you intend to update. Its path must match the base installation selected earlier.
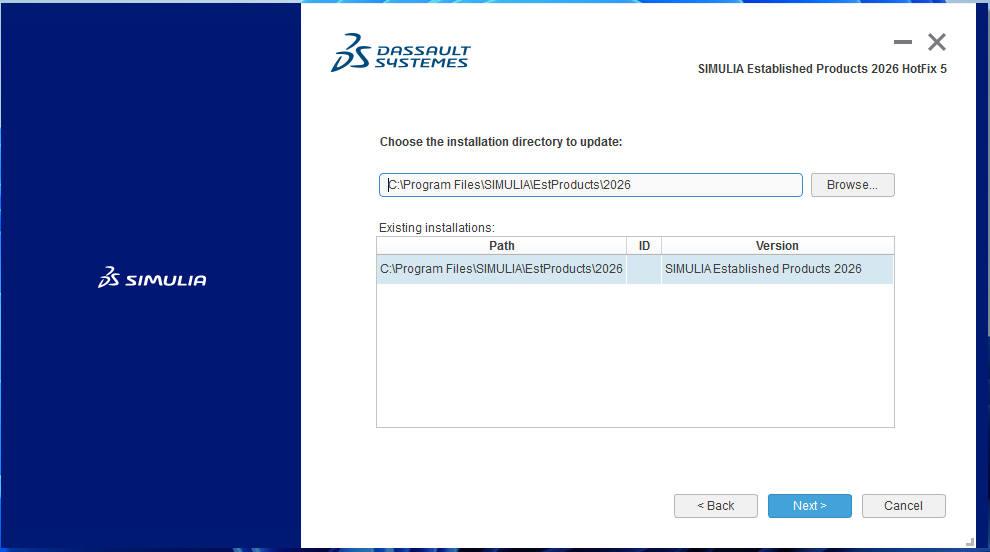
Select the existing Abaqus 2026 installation. Review the target directory and required disk space, and then select Install.
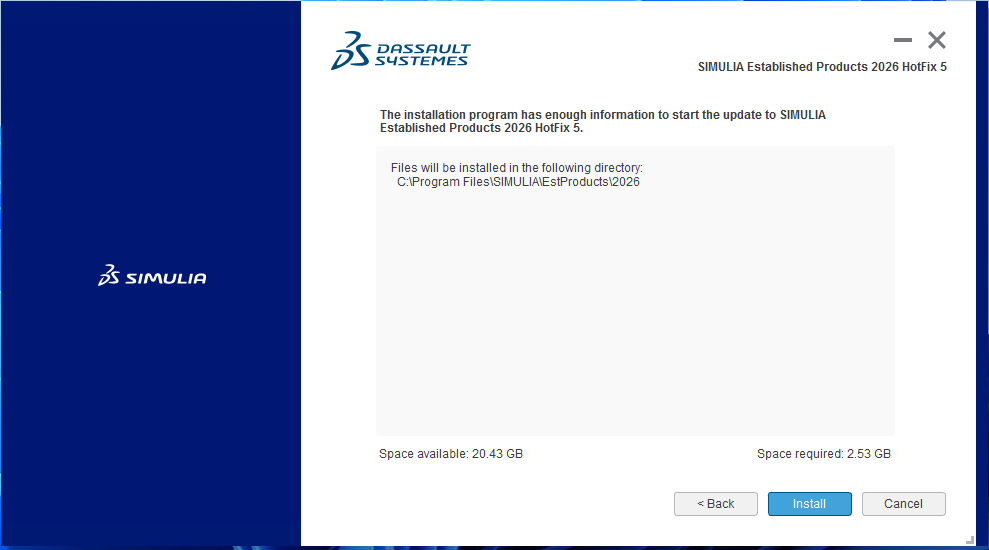
Review and start the Established Products update. Review the CAE installation verification results and select Continue. The dialog should report
abq2026hf5as the Abaqus command for this update.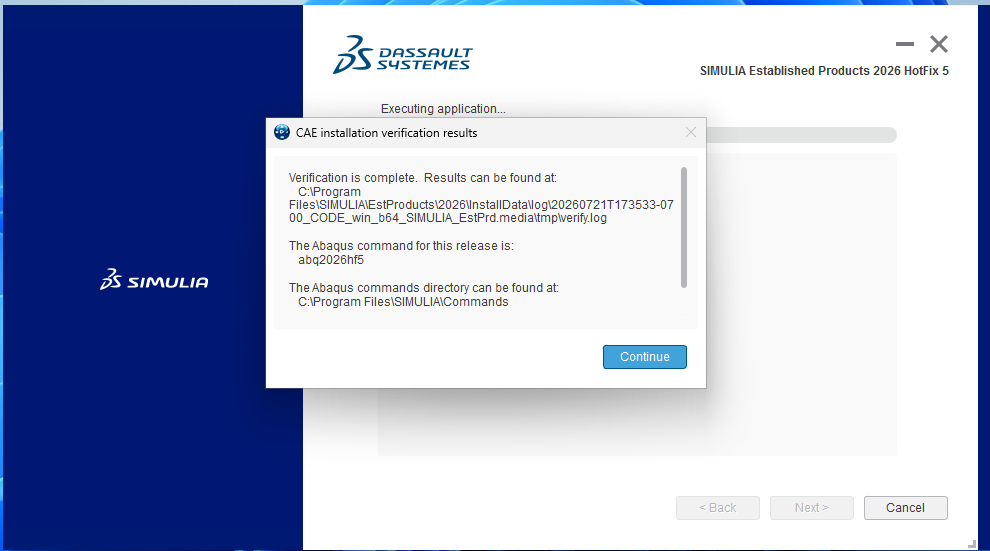
Review the updated CAE verification results. Confirm that Abaqus CAE, ODB API Services, and Abaqus/Standard Solver appear on the completion page, and then select Close.
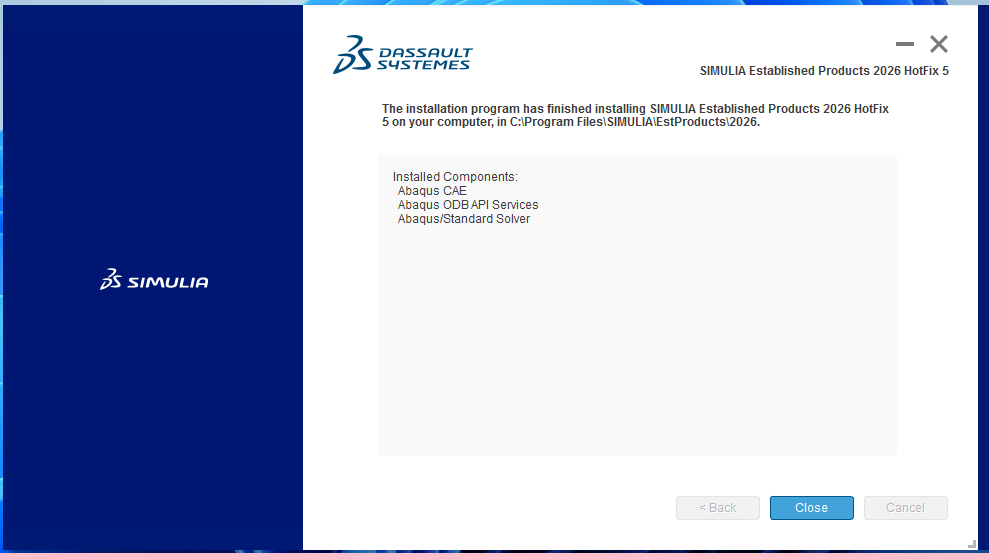
Confirm the updated Established Products components.
2.2 Update the Abaqus CAA API to Hot Fix 5
After the Established Products update finishes, return to the extracted archive’s 1\Software directory. Open CAASIMULIA_EstPrd.HF5.Windows64\1, right-click setup.exe, and select Run as administrator. Updating only the Established Products installation is not sufficient; apply this matching CAA API update as well.
On the SIMULIA Established Products 2026 HotFix 5 CAA API welcome page, select Next.
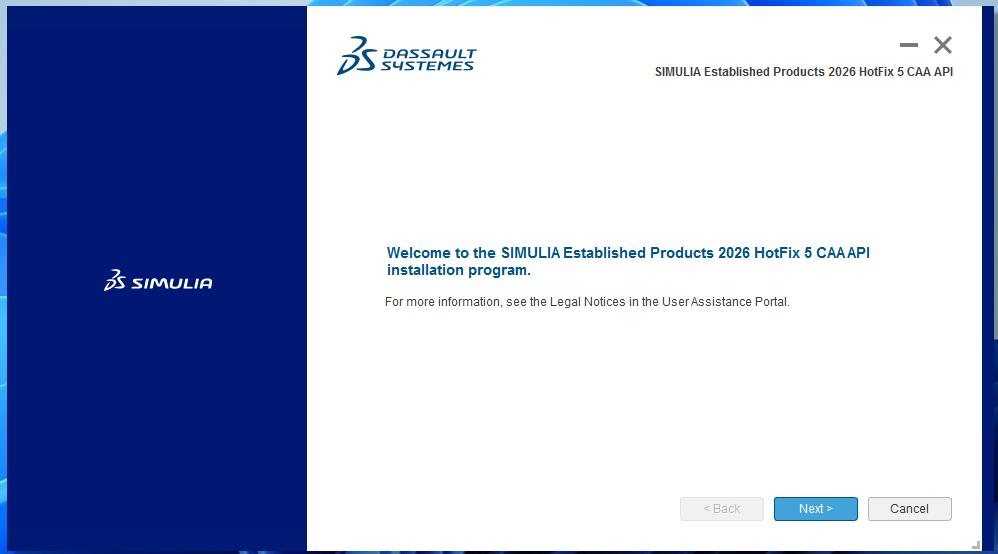
Start the CAA API update. Select the same existing Abaqus 2026 installation updated in the preceding section, and then select Next.
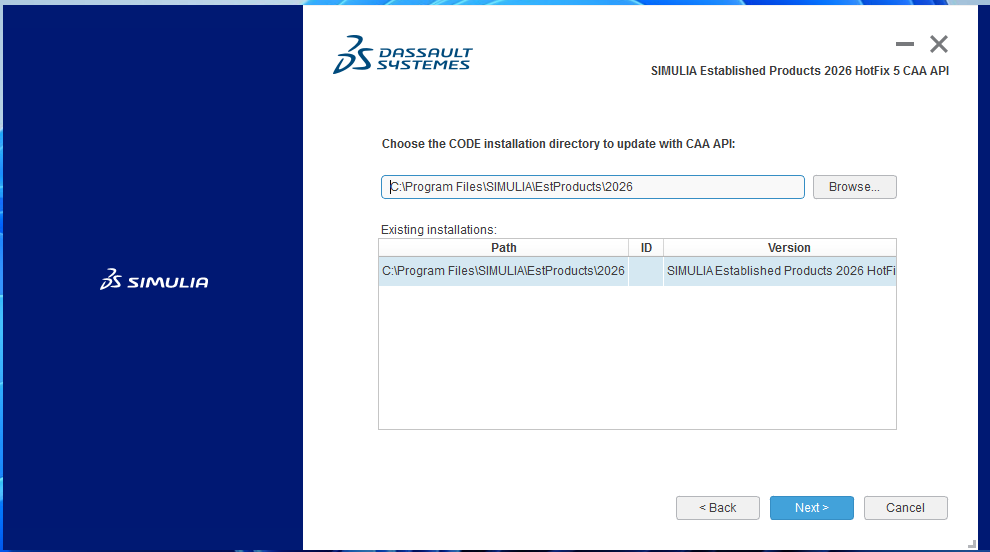
Select the Abaqus installation to update with the CAA API. Review the target directory and required disk space, and then select Install.
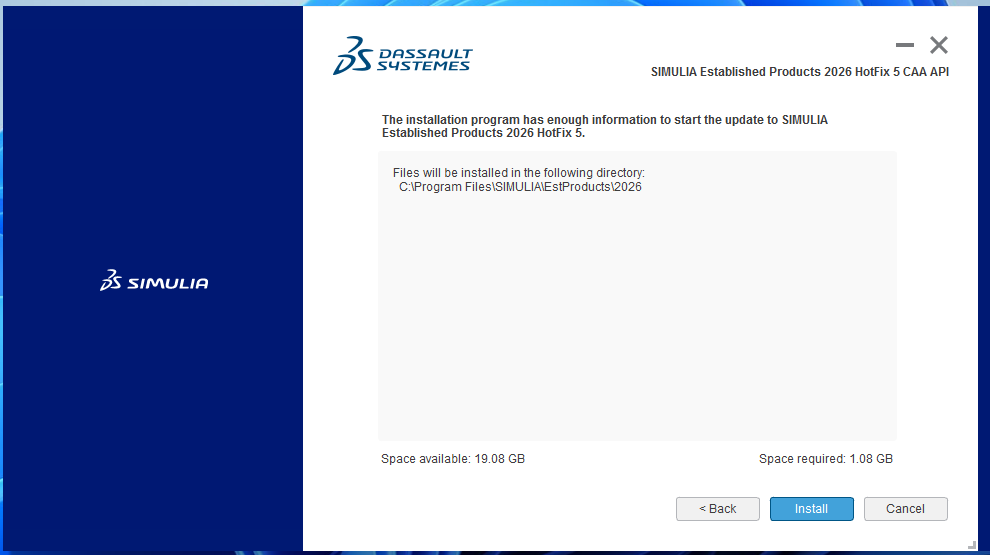
Review and start the CAA API update. Confirm that the expected CAA API components appear on the completion page, and then select Close. Abaqus 2026 Hot Fix 5 is now ready for the Coreform configuration steps in the next section.
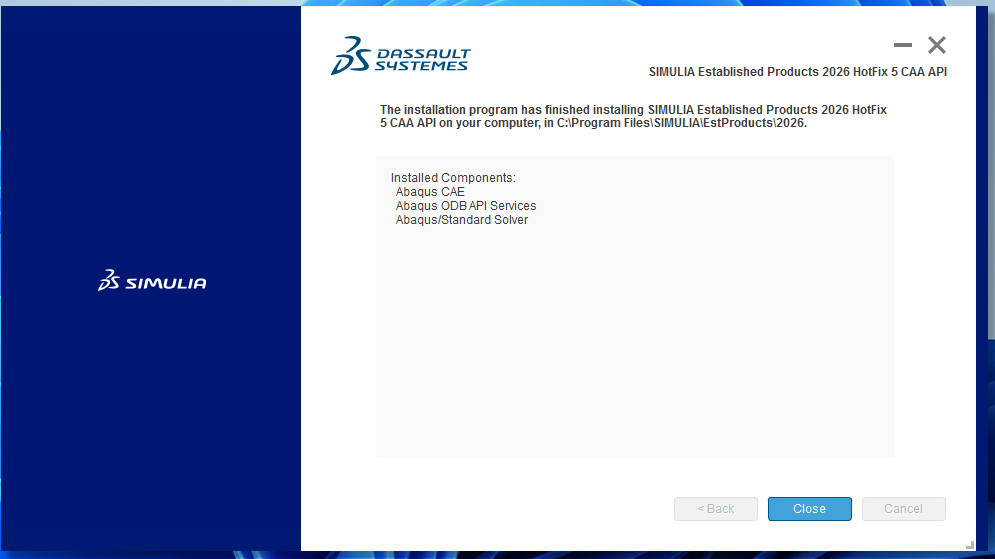
Confirm the updated CAA API components.